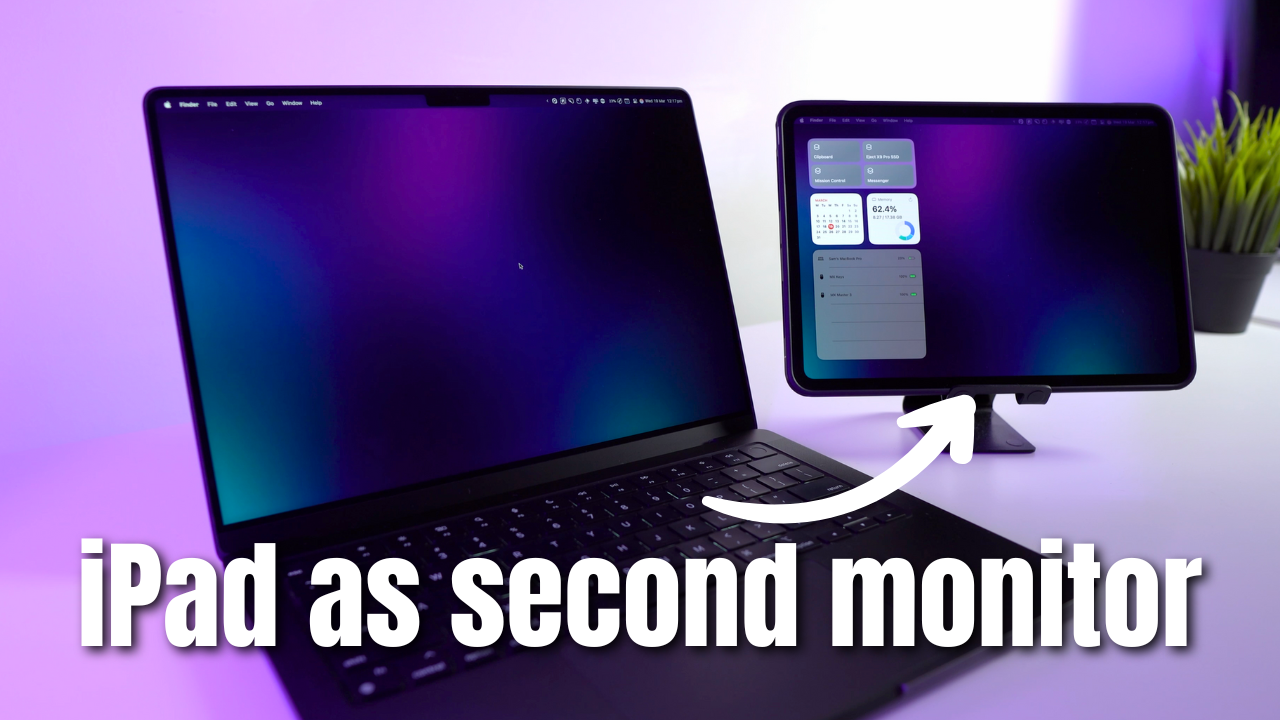
How I Use My iPad as a Second Monitor for My Mac (Wired & Wireless!)
Whether you’re multitasking, browsing, or working on documents, having a second screen can make a big difference. And if you already own an iPad, you can turn it into a second monitor for your Mac in just a few steps — no extra software needed.
In this guide, I’ll show you how to set it up both wirelessly and with a USB-C cable using Apple’s built-in Sidecar feature. It’s easy, flexible, and a great way to get more out of your devices.
What You’ll Need
Before you get started, here’s what you’ll need to check:
- Your Mac and iPad must support Sidecar. (You can check the compatibility chart here.)
- Both devices should be signed in to the same Apple ID.
- Bluetooth must be turned on.
- Both should be on the same Wi-Fi network.
- You’ll also want to be running macOS Ventura or later.
Option 1: Use Your iPad as a Second Monitor Wirelessly
- Open System Settings on your Mac.
- Go to Displays.
- Click the + arrow next to Displays, then choose your iPad under “Mirror or Extend To.”
- Your iPad will now act as a second monitor.
- Rearrange the screens by dragging them to match your desk setup.
- Choose to mirror or extend the display based on your needs.
Quick Shortcut: You can also click the Screen Mirroring icon in the menu bar, then select your iPad for a faster connection.
Option 2: Use a USB-C Cable for a Wired Setup
A wired connection can give you a more stable and responsive experience, especially for longer sessions.
- Use a USB-C to USB-C cable (or USB-C to Lightning for older iPads).
- Plug one end into your Mac and the other into your iPad.
- Your iPad should connect automatically and appear in Display settings.
Tip: Use the original Apple cable or a high-quality third-party one that supports both charging and data transfer.
Adjusting the Display
- In System Settings > Displays, you can change the screen arrangement for smoother mouse movement.
- Your iPad will show a sidebar with shortcuts — you can hide this by unchecking “Show Sidebar” in Display settings.
Use Your Apple Pencil with Mac Apps
One of the best parts of using your iPad this way is the ability to interact with Mac apps using your Apple Pencil. It works like a graphics tablet — perfect for drawing, making notes, or editing in apps like Photoshop.
Troubleshooting Tips
- Make sure both devices are updated to the latest macOS and iPadOS versions.
- Double-check that Bluetooth, Wi-Fi, and Handoff are enabled.
- Restart both devices if your iPad isn’t appearing in Display settings.
- If using a cable, try a different USB-C port or a different cable to rule out connection issues.
Final Thoughts
Turning your iPad into a second monitor is a great way to extend your Mac’s workspace without buying extra gear. Whether you go wireless or wired, it’s quick to set up and makes your workflow more flexible.
I’ve also included the full video walkthrough below in case you’d like to follow along step-by-step.
Thanks for reading!