iPhone Storage Full? Here’s How to Transfer Files to an External Drive
If your iPhone is full and you're tired of deleting photos or apps just to make room, you're not alone. One of the easiest ways to free up space is by moving your files and photos to an external hard drive. And yes — it can be done directly from your iPhone!
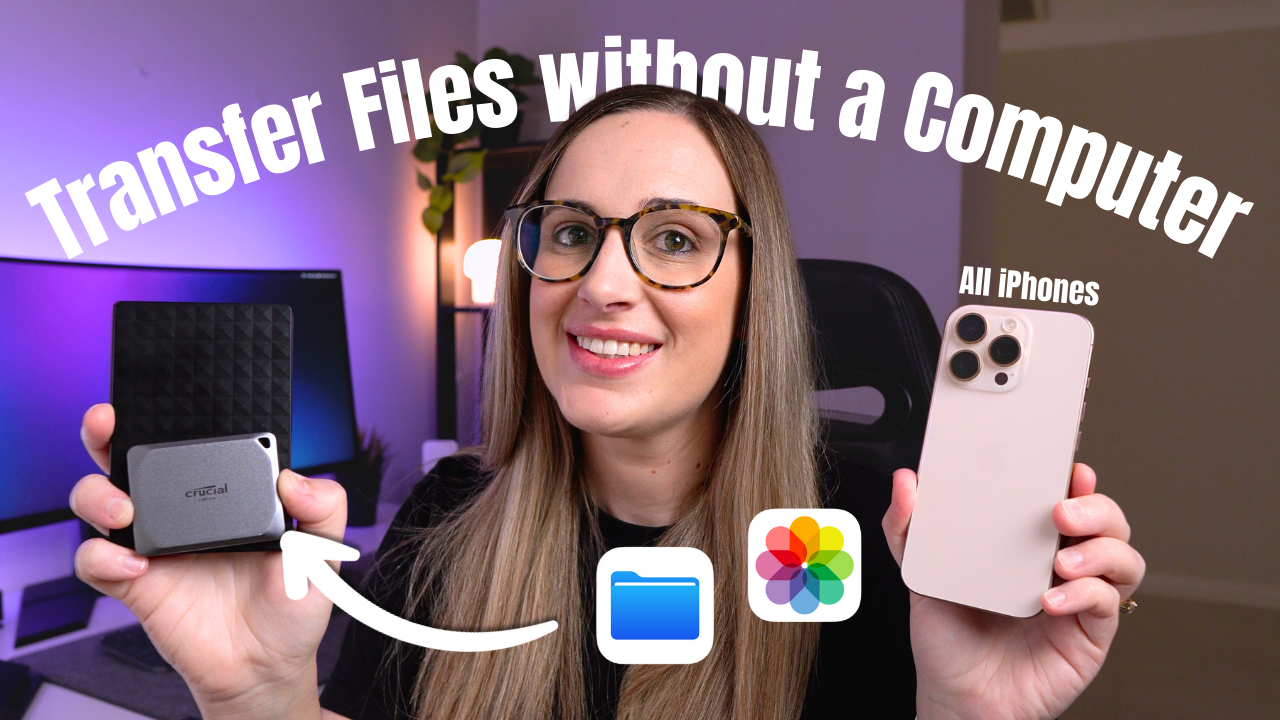
In this guide, I’ll walk you through how to transfer files to an external drive on both newer iPhones with a USB-C port and older iPhones with the Lightning port. You’ll just need the right cable or adapter, and I’ll show you exactly how to do it.
What You'll Need
1. An External Drive
- SSD (Solid State Drive) – Smaller, faster, more reliable, but slightly more expensive.
- Traditional Hard Drive (HDD) – More affordable but has moving parts, making it more prone to failure.
My pick? I use the Crucial X9 Pro SSD. It’s tiny, fast, and hasn’t let me down. But any external drive will work — just make sure it's formatted correctly (more on that below).
2. The Right Cable or Adapter
- For USB-C iPhones (like the iPhone 15 or 16): Use an SSD or drive with a USB-C cable.
- For older Lightning iPhones: You’ll need a Lightning to USB adapter, and in most cases, a powered USB hub to supply enough power to your hard drive.
How to Transfer Files from iPhone to External Drive
For iPhones with USB-C (e.g., iPhone 15/16)
- Plug your SSD or external drive into your iPhone using the USB-C cable.
- Open the Files app. Your drive should appear under "Locations."
- Create a folder if you like: tap the three dots and choose New Folder.
- Open the Photos app, tap Select, and choose the photos you want to move.
- Tap the Share icon and choose Save to Files.
- Select your external drive and folder, then tap Save.
- To copy documents or downloads, follow the same process in the Files app.
- Free up space: Delete the copied files from your iPhone after confirming they’re saved.
To safely remove the drive: Swipe up to close apps, lock your phone, and wait for the drive’s light to switch off before unplugging it.
For iPhones with a Lightning Port
Since the Lightning port doesn’t provide much power, you’ll need:
- Lightning to USB Adapter
- Powered USB Hub
- Correct USB cable for your drive
Steps:
- Connect the Lightning adapter to your iPhone.
- Connect the powered USB hub to the adapter.
- Plug your external drive into the USB hub and power it on.
- Open the Files app — your drive should appear in the sidebar.
- Follow the same transfer steps as above.
If you're using a USB-C SSD, just use a USB-C to USB-A cable to connect it to the hub.
To safely disconnect: Close apps, lock the phone or iPad, and wait for the drive's light to turn off before unplugging.
Troubleshooting Tips
- Drive not showing up? It may be formatted incorrectly. Use exFAT — it's compatible with iPhone, Mac, Windows, and Android. Reformatting erases the drive, so back up anything important first.
- Files won’t transfer? The drive could be full, or some files (like Apple Music) may have restrictions.
- Transfers are slow? Older drives or iPhones have slower speeds. Copy smaller batches to save time.
Final Thoughts
Once you know how, backing up your iPhone to an external drive is simple and super helpful — especially if you want to keep your storage free without paying for extra iCloud space.
I’ve also included the full video walkthrough below so you can follow along step-by-step. It covers both USB-C and Lightning iPhones, plus some extra troubleshooting tips if you get stuck.
Thanks for reading!
Recommended Gear Mentioned:
- 4-Port USB 3.0 Powered Hub
- Lightning to USB Adapter
- USB C to USB Adapter
- Crucial X9 Pro - SSD
- Seagate External Hard Drive - HDD
The links above are Amazon affiliate links, which means I may earn a small commission at no extra cost to you. It helps support my work, so thank you.